Alright folks, let’s get straight to the point. If you’ve ever wondered how to tie a cobra knot, you’re in the right place. Whether you’re into survival skills, crafting, or just want to add a cool new trick to your repertoire, this knot is pure gold. The cobra knot, also known as the king cobra stitch or Solomon bar, is not only functional but also visually striking. So, let’s dive in and unravel the mystery behind this awesome knot!
Now, you might be thinking, "Why should I even bother learning this?" Well, here’s the deal. The cobra knot is one of those skills that can come in handy in a variety of situations. From securing gear during camping trips to creating stylish bracelets, this knot has got your back. Plus, once you master it, you’ll feel like a total pro.
But don’t worry if you’re a complete beginner. This guide is designed to walk you through every step, making it super easy to follow. By the time you’re done reading, you’ll be tying cobra knots like a champ. So, grab your rope, paracord, or whatever material you’ve got, and let’s get started!
- Discover The Glamorous Charm Of Regal Miami Beach
- Fox Crash Game The Ultimate Guide To Adventure And Fun
Why the Cobra Knot is a Must-Know Skill
Before we jump into the nitty-gritty of how to tie a cobra knot, let’s take a moment to appreciate why it’s such a big deal. This knot isn’t just about aesthetics; it’s a practical tool that can save the day in unexpected ways. Here are a few reasons why mastering the cobra knot is worth your time:
- Survival Situations: In the wild, the cobra knot can help you secure shelters, create traps, or even repair gear.
- Crafting Projects: If you’re into DIY projects, the cobra knot adds a unique touch to bracelets, lanyards, and keychains.
- Decorative Uses: The intricate pattern of the cobra knot makes it a favorite for decorative purposes, from home decor to jewelry.
- Strength and Durability: This knot is known for its strength, making it reliable for heavy-duty tasks.
So, whether you’re an outdoor enthusiast or a crafty creator, the cobra knot is a skill that will serve you well. Now, let’s move on to the good stuff – how to actually tie it!
How to Tie a Cobra Knot: Step-by-Step Instructions
Tying a cobra knot might seem intimidating at first, but trust me, it’s easier than it looks. Follow these steps carefully, and you’ll be tying knots in no time:
- Dungy Son A Rising Star In The Spotlight
- Gabriel Macht Batman The Ultimate Fan Theory And Speculation
Step 1: Gather Your Materials
First things first, you’ll need the right materials. For beginners, paracord is a great option because it’s durable and easy to work with. You’ll also need something to tie the knot around, like a stick, a keyring, or even your finger for practice.
Step 2: Create the Base Loop
Start by creating a loop with your cord. Place the loop over the object you’re tying the knot around. This will serve as the foundation for your cobra knot.
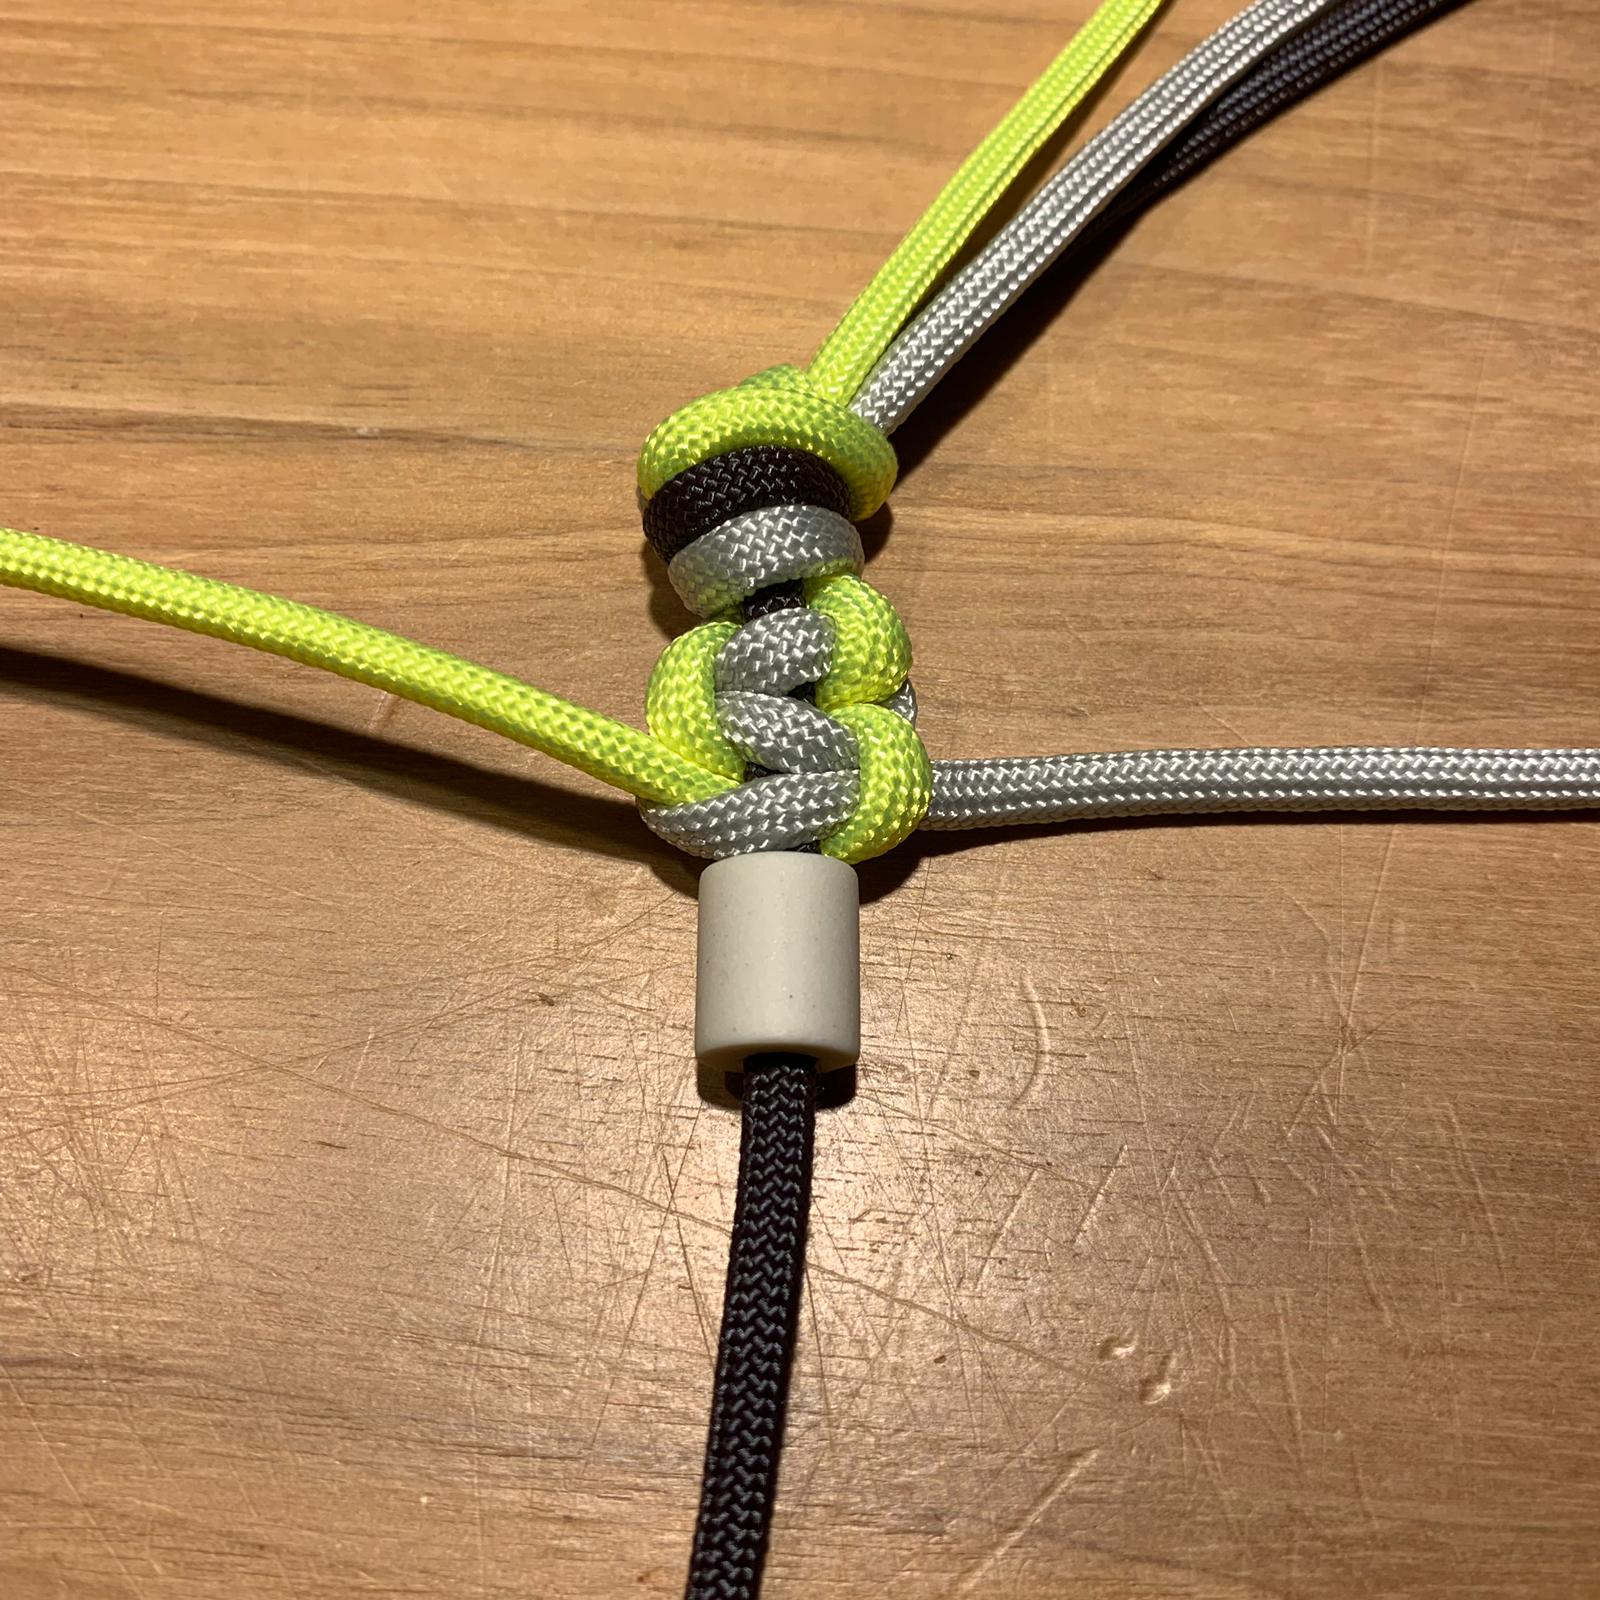
Step 3: Begin the Weaving Process
Now, here’s where the magic happens. Take the working end of the cord and pass it over the standing part of the cord. Then, thread it under the loop and bring it back up through the space created. Repeat this process, alternating sides each time.
Step 4: Tighten the Knot
Once you’ve completed a few weaves, gently pull on both ends of the cord to tighten the knot. This will give your cobra knot a neat and secure appearance.
Step 5: Continue Until Desired Length
Keep repeating the weaving process until you reach your desired length. Remember to tighten the knot periodically to maintain its shape.
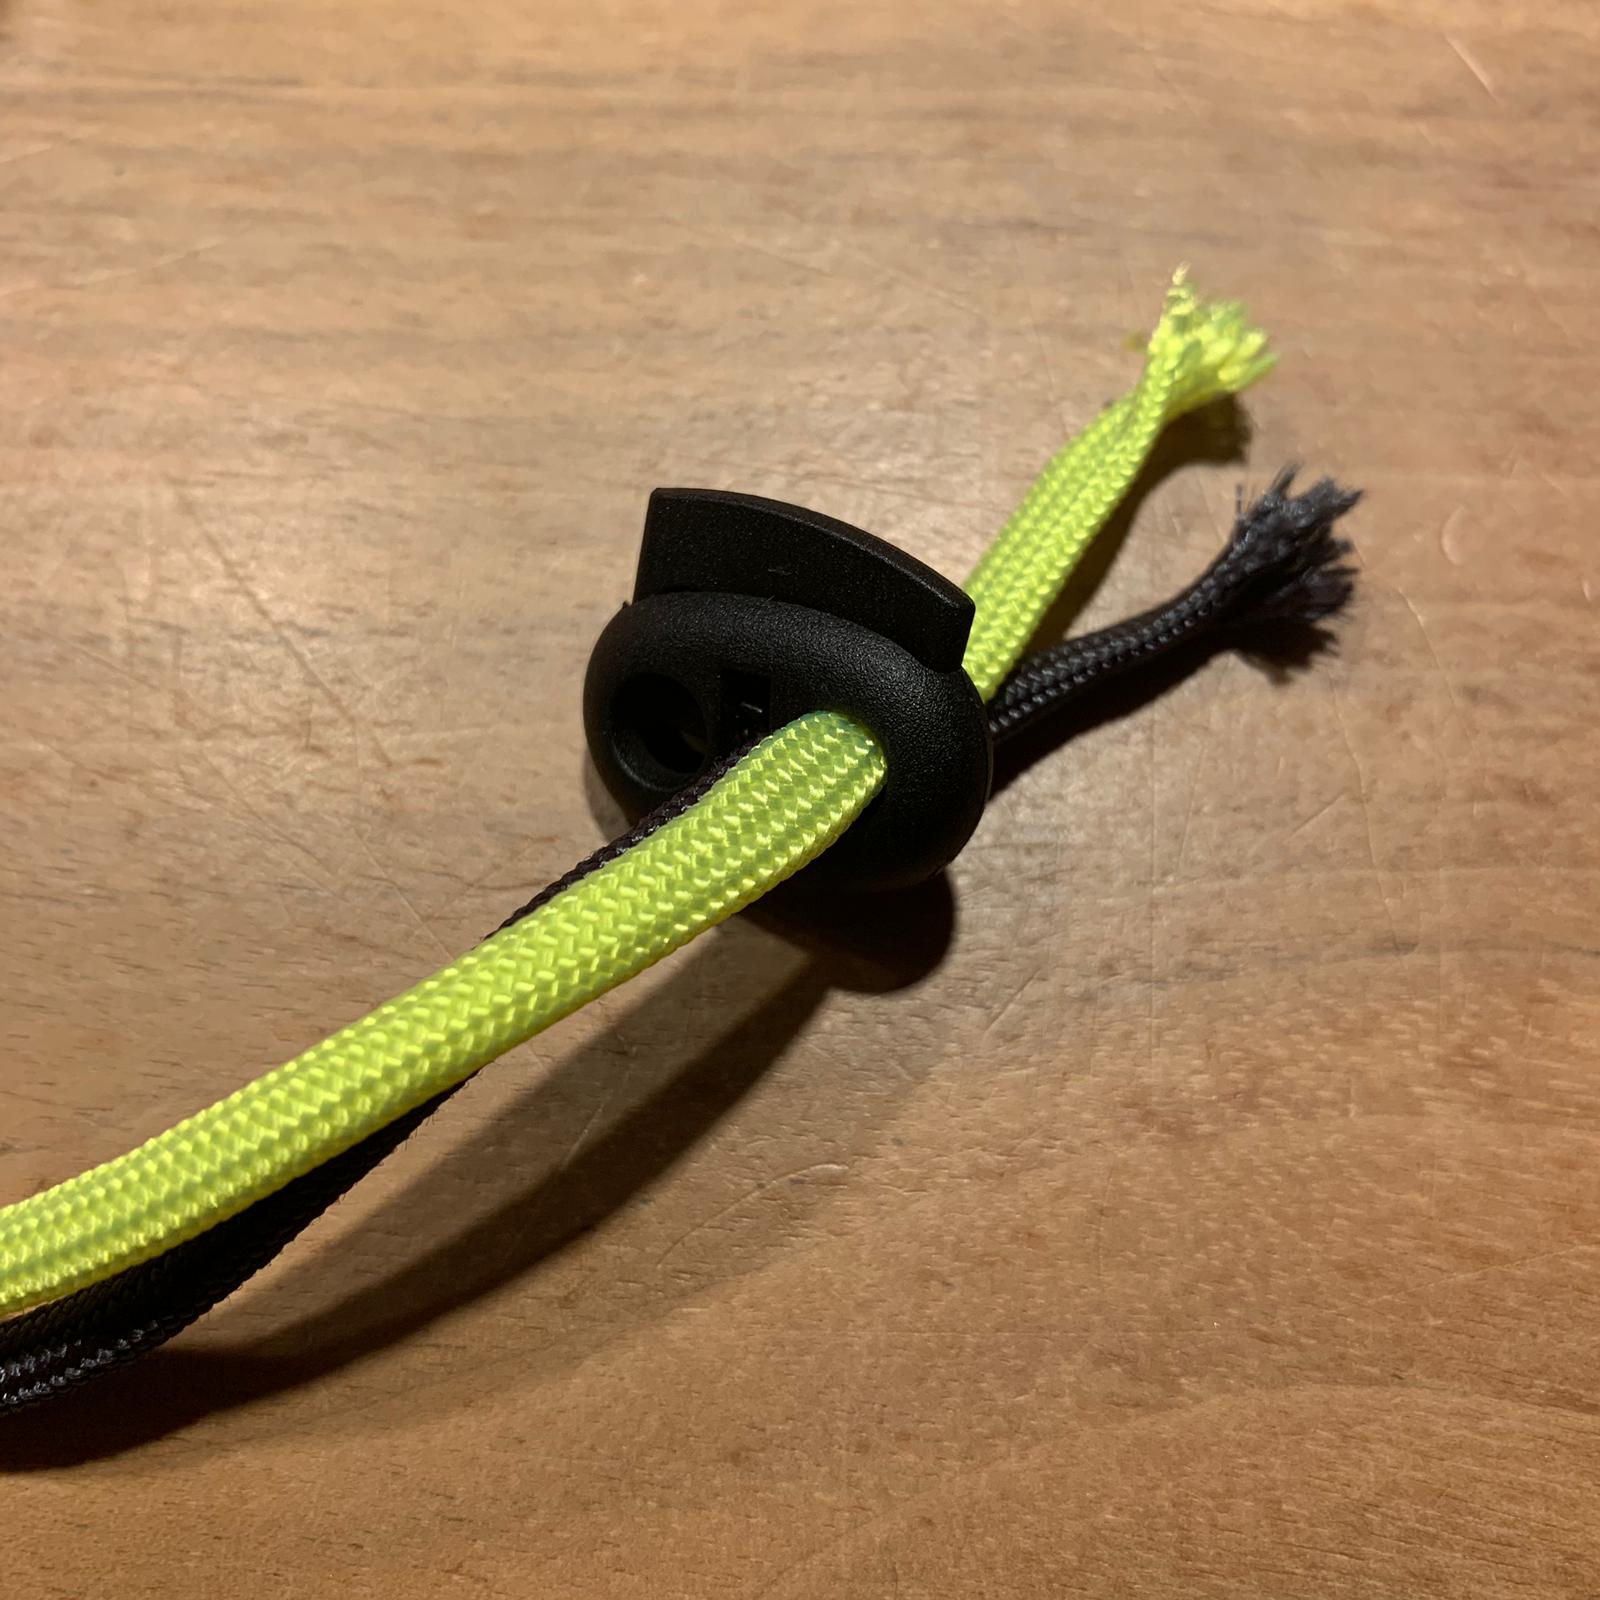
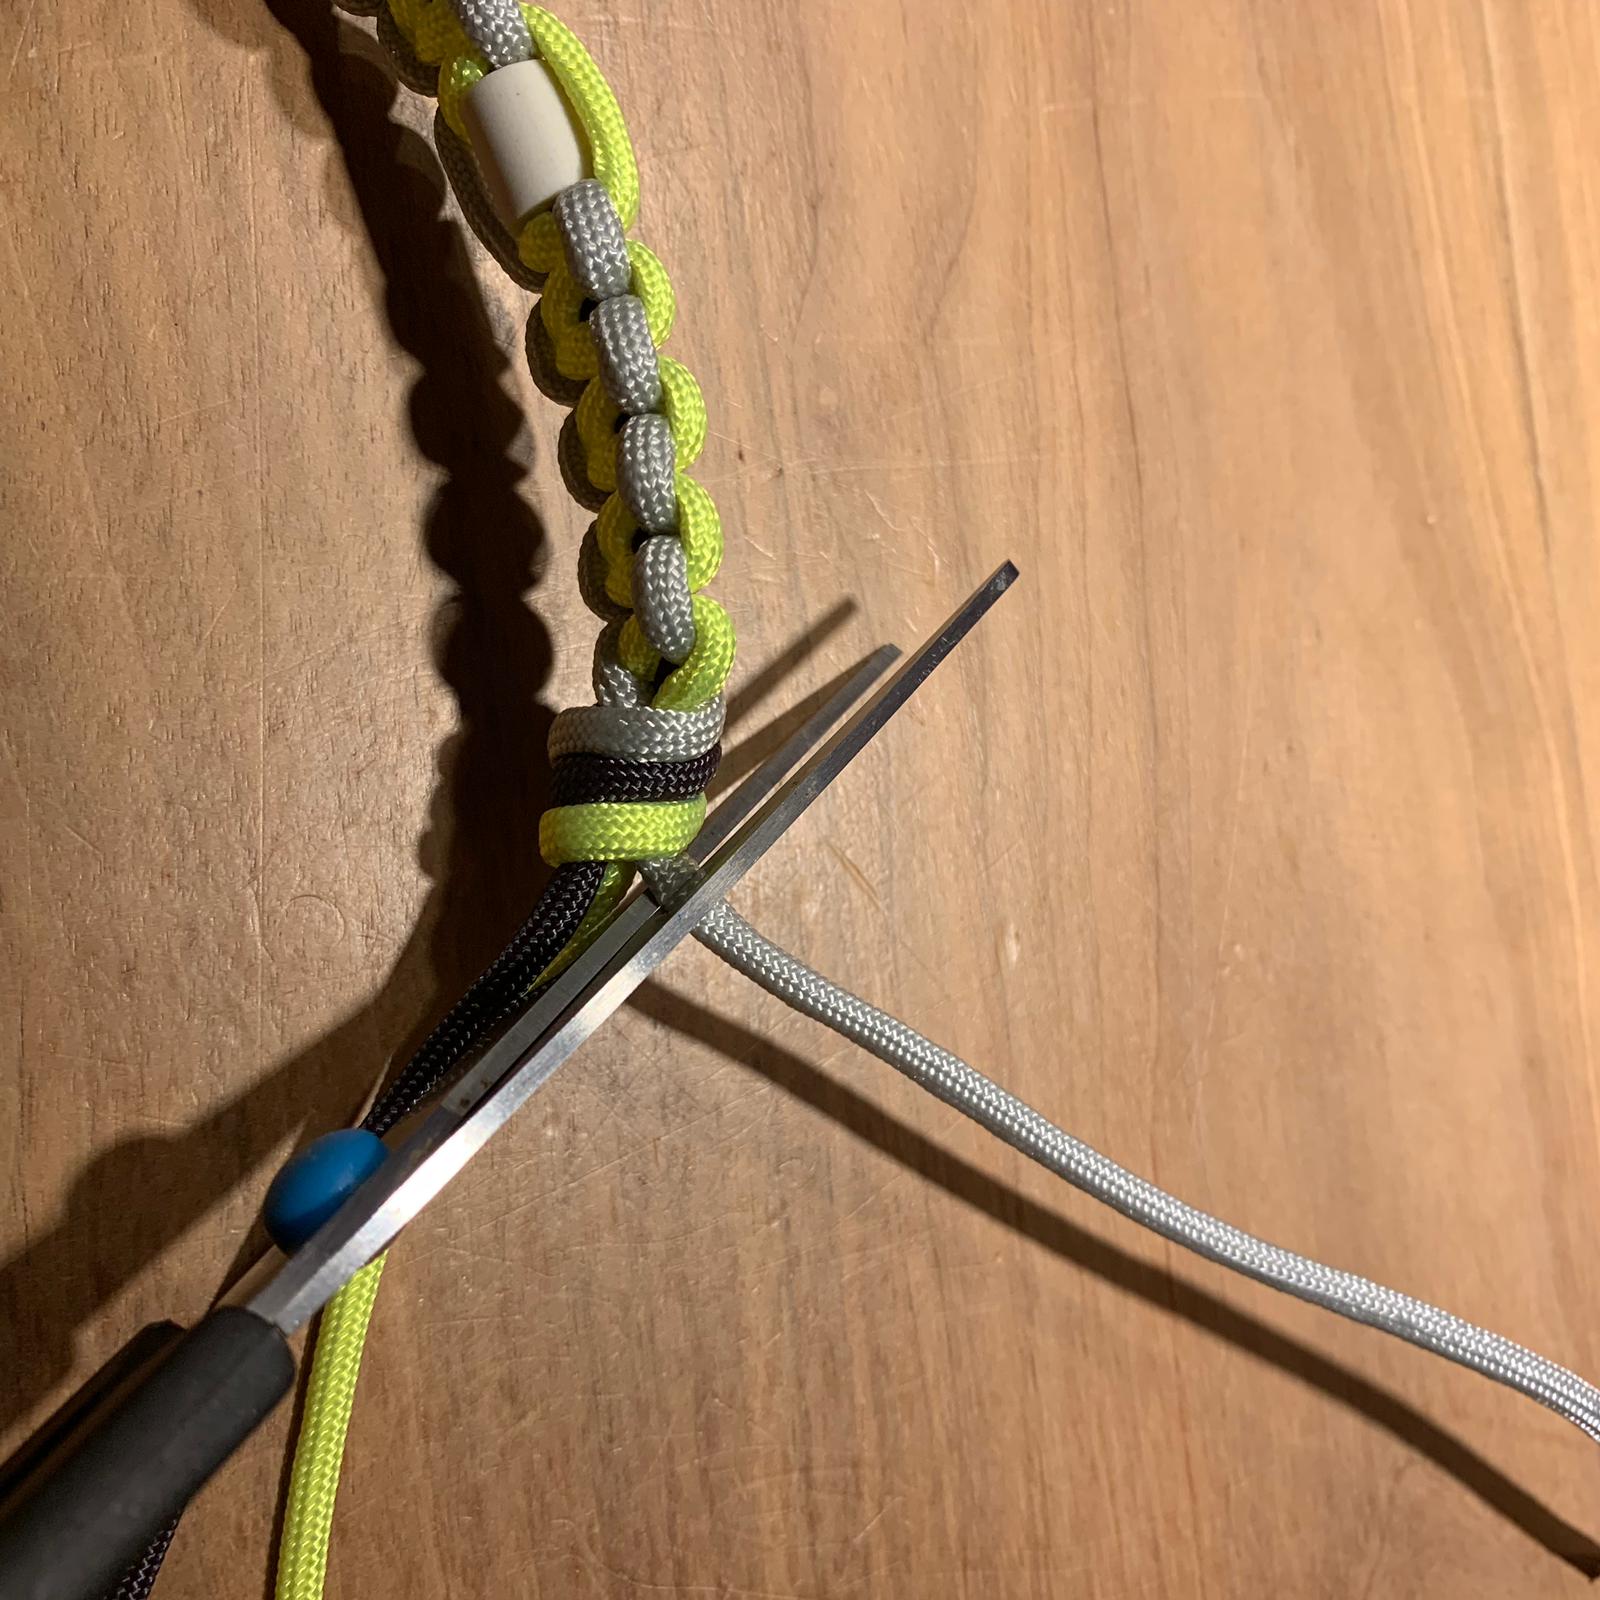
Step 6: Finish the Knot
When you’re done, trim the excess cord and melt the ends with a lighter to prevent fraying. And voila! You’ve successfully tied a cobra knot.
Common Mistakes to Avoid
Even the best knot-tiers make mistakes sometimes. Here are a few common pitfalls to watch out for:
- Loose Weaving: Make sure to tighten the knot as you go; loose weaving can lead to a messy finish.
- Incorrect Alternation: Pay attention to which side you’re weaving from; alternating correctly is key to the knot’s structure.
- Improper Trimming: Be careful when trimming the ends; cutting too close can weaken the knot.
By avoiding these mistakes, you’ll ensure your cobra knots are flawless every time.
Types of Materials for Cobra Knots
Not all cords are created equal. Choosing the right material can make a big difference in the appearance and functionality of your cobra knot. Here are some popular options:
Paracord
Paracord is a favorite among outdoor enthusiasts due to its strength and versatility. It’s perfect for survival situations and crafting projects alike.
Nylon Rope
Nylon rope is another great choice, especially for decorative purposes. It’s smooth, durable, and comes in a variety of colors.
Leather Cord
If you’re looking to create something more elegant, leather cord is the way to go. It adds a touch of sophistication to any project.
Applications of the Cobra Knot
The cobra knot isn’t just limited to survival scenarios or crafting. Its versatility makes it suitable for a wide range of applications. Here are a few ideas to get you inspired:
- Bracelets: Create stylish and functional bracelets that showcase your knot-tying skills.
- Lanyards: Use the cobra knot to make lanyards for holding badges, keys, or tools.
- Keychains: Add a personal touch to your keys with a custom-made cobra knot keychain.
- Home Decor: Incorporate the cobra knot into wall hangings, rugs, or other decorative items.
The possibilities are endless when it comes to the cobra knot. Let your creativity run wild!
Advanced Techniques for Cobra Knots
Once you’ve mastered the basic cobra knot, you can start experimenting with advanced techniques to take your skills to the next level. Here are a few ideas:
Double Cobra Knot
The double cobra knot adds an extra layer of complexity and strength to your projects. It’s perfect for situations where you need a more secure hold.
King Cobra Knot
The king cobra knot takes the basic cobra knot and wraps it around itself, creating a stunning and intricate pattern. It’s a bit more challenging, but the results are worth it.
Tips for Perfecting Your Cobra Knot
Here are a few tips to help you refine your cobra knot skills:
- Practice Regularly: Like any skill, practice makes perfect. Set aside time each day to work on your knots.
- Experiment with Colors: Using different colored cords can add visual interest to your projects.
- Invest in Quality Tools: A good pair of scissors and a lighter can make a big difference in the quality of your knots.
By following these tips, you’ll be tying flawless cobra knots in no time.
Conclusion
So there you have it, folks. The cobra knot is not only easy to learn but also incredibly versatile. Whether you’re using it for survival, crafting, or decoration, this knot has something to offer everyone. Remember to practice regularly and experiment with different materials and techniques to keep things interesting.
Now it’s your turn. Grab your materials and start tying those knots. And don’t forget to share your creations with us in the comments below. Who knows, you might just inspire someone else to take up this awesome skill!
Table of Contents
- Master the Art of Tying a Cobra Knot: A Step-by-Step Guide
- Why the Cobra Knot is a Must-Know Skill
- How to Tie a Cobra Knot: Step-by-Step Instructions
- Types of Materials for Cobra Knots
- Applications of the Cobra Knot
- Advanced Techniques for Cobra Knots
- Tips for Perfecting Your Cobra Knot
- Common Mistakes to Avoid
- Conclusion
- Peeta Mellark Pictures A Deep Dive Into The Iconic Imagery Of A Beloved Character
- Does Marlo Thomas Have Cancer Unveiling The Truth Behind The Rumors