Feathered haircuts have been making waves in the fashion world lately and it’s no surprise why. This versatile style combines texture, volume, and a touch of nostalgia, making it perfect for anyone looking to freshen up their look. Whether you're a hairstylist or someone who loves experimenting with DIY haircuts, this guide will walk you through everything you need to know about cutting a feathered hairstyle. So grab your scissors, and let’s get started!
There’s something magical about feathered haircuts. They’re not just about cutting hair; it’s an art form that requires precision, patience, and a keen eye for detail. This style has been around since the '70s, and it’s making a serious comeback today. Think Farrah Fawcett vibes but with a modern twist. If you're wondering how to cut a feathered haircut, you're in the right place. We'll break it down step by step so you can achieve that perfect feathered look.
Before we dive into the nitty-gritty, let’s talk about why feathered haircuts are such a big deal. They’re great for all hair types, whether you’ve got straight, wavy, or curly hair. Plus, they’re super versatile—you can rock them casual or glam them up for a night out. So whether you're cutting your own hair or helping someone else, this guide will help you nail the technique. Let’s get to it!
- Kate Spade Pink Crossbody Bag Your Ultimate Guide To Style And Sophistication
- Peeping Joi A Deep Dive Into The World Of Joi Content
What is a Feathered Haircut?
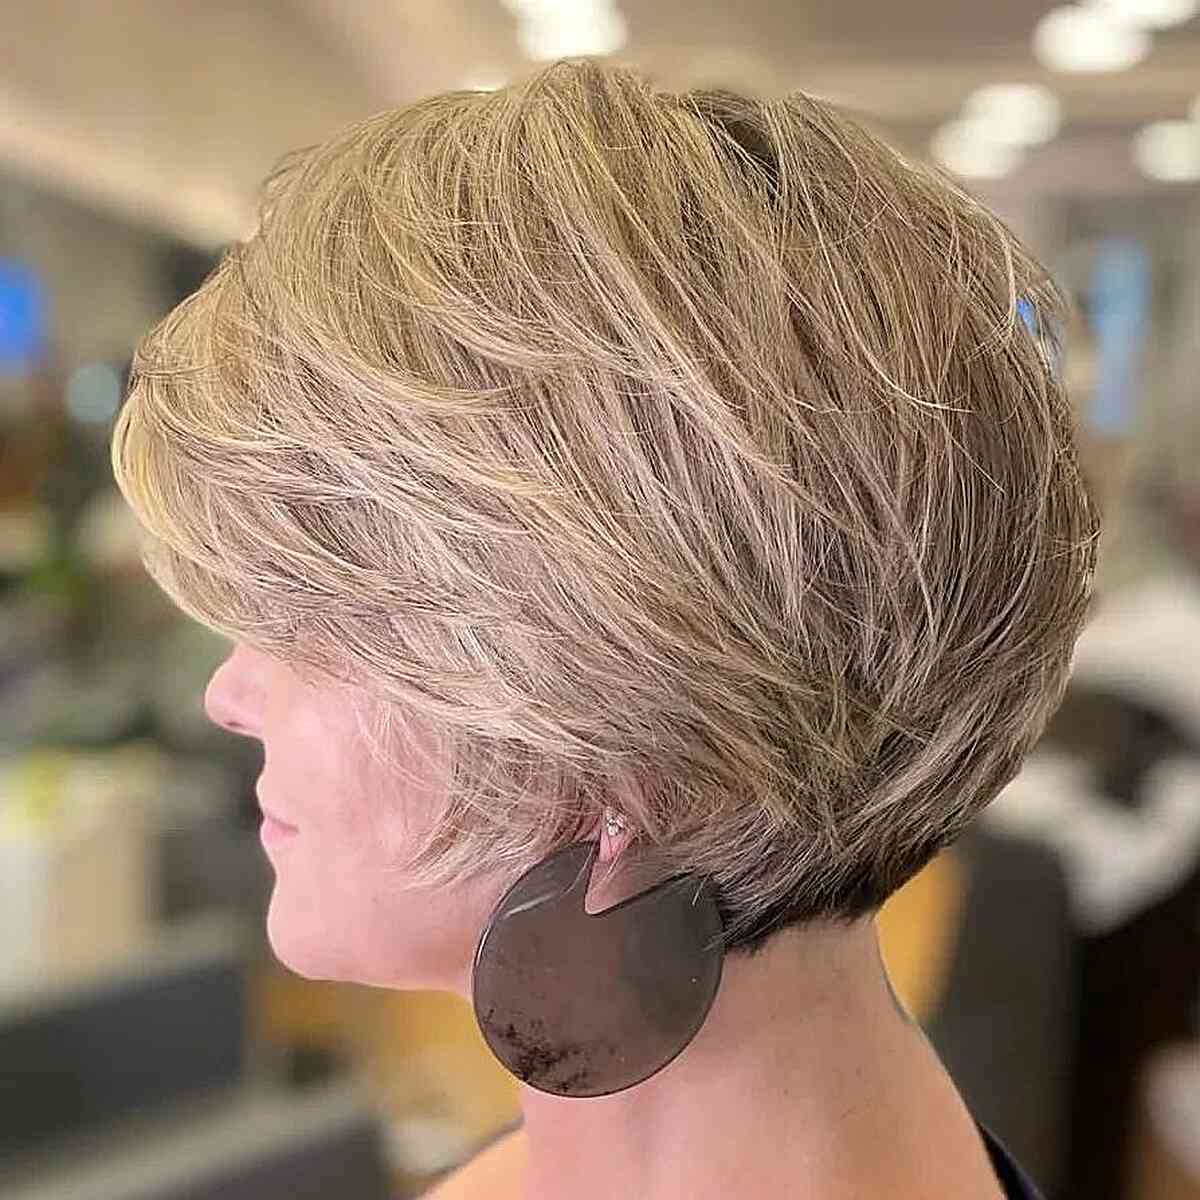
Let’s start with the basics. A feathered haircut is essentially a layered hairstyle where the ends of the hair are cut at an angle to create a soft, flowing effect. The layers mimic the look of feathers, hence the name. This style works wonders for adding volume and texture to thin hair and can also tame thicker hair by creating a more manageable look.
Feathered cuts are all about blending. The layers are cut in a way that they seamlessly merge with each other, creating a natural and effortless appearance. It’s not just about cutting straight lines; it’s about creating movement and dimension. Think of it like painting a picture—every stroke matters!
Why Should You Choose a Feathered Haircut?
If you're on the fence about whether or not to try a feathered haircut, here are a few reasons why you should go for it:
- Is Zooey Deschanel Pregnant The Truth Behind The Rumors
- What Is Eiffel Tower In Sex Unpacking The Controversial Term And Its Meaning
- It adds volume and texture to fine hair.
- It helps tame thick, unruly hair by creating more manageability.
- It’s versatile and can be styled in various ways.
- It’s a timeless style that never goes out of fashion.
- It works for all face shapes and hair types.
Plus, feathered haircuts are relatively low-maintenance compared to other styles. With a few simple tricks, you can maintain that salon-fresh look without spending hours in front of the mirror.
Tools You’ll Need for Cutting a Feathered Haircut
Before you start cutting, it’s important to gather the right tools. Here’s a list of essentials you’ll need:
- Professional scissors: Invest in a good pair of hair-cutting scissors. Regular scissors just won’t cut it (pun intended).
- Teasing comb: A fine-tooth comb is perfect for sectioning and teasing hair.
- Point cutting scissors: These are great for adding texture and softness to the ends.
- Hair clips: Use these to section off parts of your hair while you work.
- Detangling spray: This will make the cutting process smoother and prevent tangles.
Having the right tools makes all the difference. Trust me, you don’t want to be halfway through a cut and realize you’re missing something crucial.
Step-by-Step Guide: How to Cut a Feathered Haircut
Step 1: Prepare Your Hair
Start by washing and drying your hair. It’s easier to cut hair when it’s slightly damp, as it gives you more control. Use a detangling spray to ensure there are no knots or tangles. Once your hair is ready, gather all your tools and find a well-lit area to work in.
Step 2: Section Your Hair
Divide your hair into sections. Start with the back section first, as this is where you’ll begin cutting. Use clips to hold the rest of your hair out of the way. This will make the process much easier and more organized.
Step 3: Cut the Back Section
Take a small section of hair from the back and hold it vertically. Use your scissors to cut at an angle, creating a V-shape. This will give your hair that feathered look. Repeat this process for the rest of the back section, making sure each piece blends seamlessly with the previous one.
Step 4: Move to the Sides
Once the back is done, move on to the sides. Take small sections and cut at the same angle as before. Be careful not to cut too much at once—you can always go back and trim more if needed.
Step 5: Cut the Front Section
The front section is where you’ll add the most layers. Take small sections and cut at a slight angle, working your way from the crown to the ends. This will create that soft, flowing effect that defines a feathered haircut.
Step 6: Add Texture with Point Cutting
Once the main cutting is done, use your point cutting scissors to add texture to the ends. This will soften the look and give your hair that natural, feathered appearance.
Step 7: Finish with a Blow-Dry
After you’ve finished cutting, blow-dry your hair to set the style. Use a round brush to add volume and lift, focusing on the crown and ends.
Tips and Tricks for Cutting a Feathered Haircut
Here are a few tips to help you achieve the perfect feathered haircut:
- Take your time: Rushing through the process can lead to mistakes. Take your time and work slowly to ensure precision.
- Use small sections: Cutting small sections at a time gives you more control and helps you achieve a more even look.
- Blend the layers: Make sure each layer blends seamlessly with the next. This will create a natural, effortless appearance.
- Practice on a wig first: If you’re new to cutting hair, practice on a wig before trying it on real hair. This will help you get the hang of the technique.
Remember, practice makes perfect. The more you practice, the better you’ll get at cutting feathered haircuts.
Common Mistakes to Avoid
While cutting a feathered haircut, there are a few common mistakes you should avoid:
- Cutting too much hair: Always start with small cuts and work your way up. You can always cut more, but you can’t add hair back once it’s gone.
- Not blending the layers: If the layers don’t blend properly, your haircut will look choppy and uneven.
- Using the wrong tools: Using regular scissors or cheap tools can damage your hair and affect the quality of the cut.
By avoiding these mistakes, you’ll be able to achieve a professional-looking feathered haircut.
How to Style a Feathered Haircut
Now that you’ve cut your feathered haircut, it’s time to style it. Here are a few styling tips:
- Use a volumizing mousse: Apply a volumizing mousse to damp hair before blow-drying for added lift and body.
- Blow-dry with a round brush: This will help you achieve that classic feathered look with plenty of volume.
- Finish with hairspray: Use a light-hold hairspray to keep your style in place without weighing down your hair.
With these styling tips, you’ll be able to maintain your feathered haircut and keep it looking fresh and fabulous.
Conclusion
Cutting a feathered haircut may seem intimidating at first, but with the right tools and technique, it’s definitely achievable. Whether you’re a professional hairstylist or a DIY enthusiast, this guide has everything you need to know to create the perfect feathered look. Remember to take your time, blend the layers properly, and practice on a wig if you’re new to cutting hair.
So what are you waiting for? Grab your scissors and give it a try. Don’t forget to share your results with us in the comments below. And if you found this guide helpful, feel free to share it with your friends and family. Happy cutting!
Table of Contents
- Nick Watts Wife A Closer Look At Her Life Achievements And Their Love Story
- Merry Christmas African American Images Celebrate The Spirit Of Diversity